Published:2024-10-28 09:54:11Source:40407Author:40407
The thrill of uncovering secrets has long been a hallmark of Call of Duty Zombies, and Black Ops 6 keeps the tradition alive with its Liberty Falls Main Quest. This mission lets seasoned COD Zombies players test their mettle in the eerie, zombie-infested town of Liberty Falls, West Virginia.
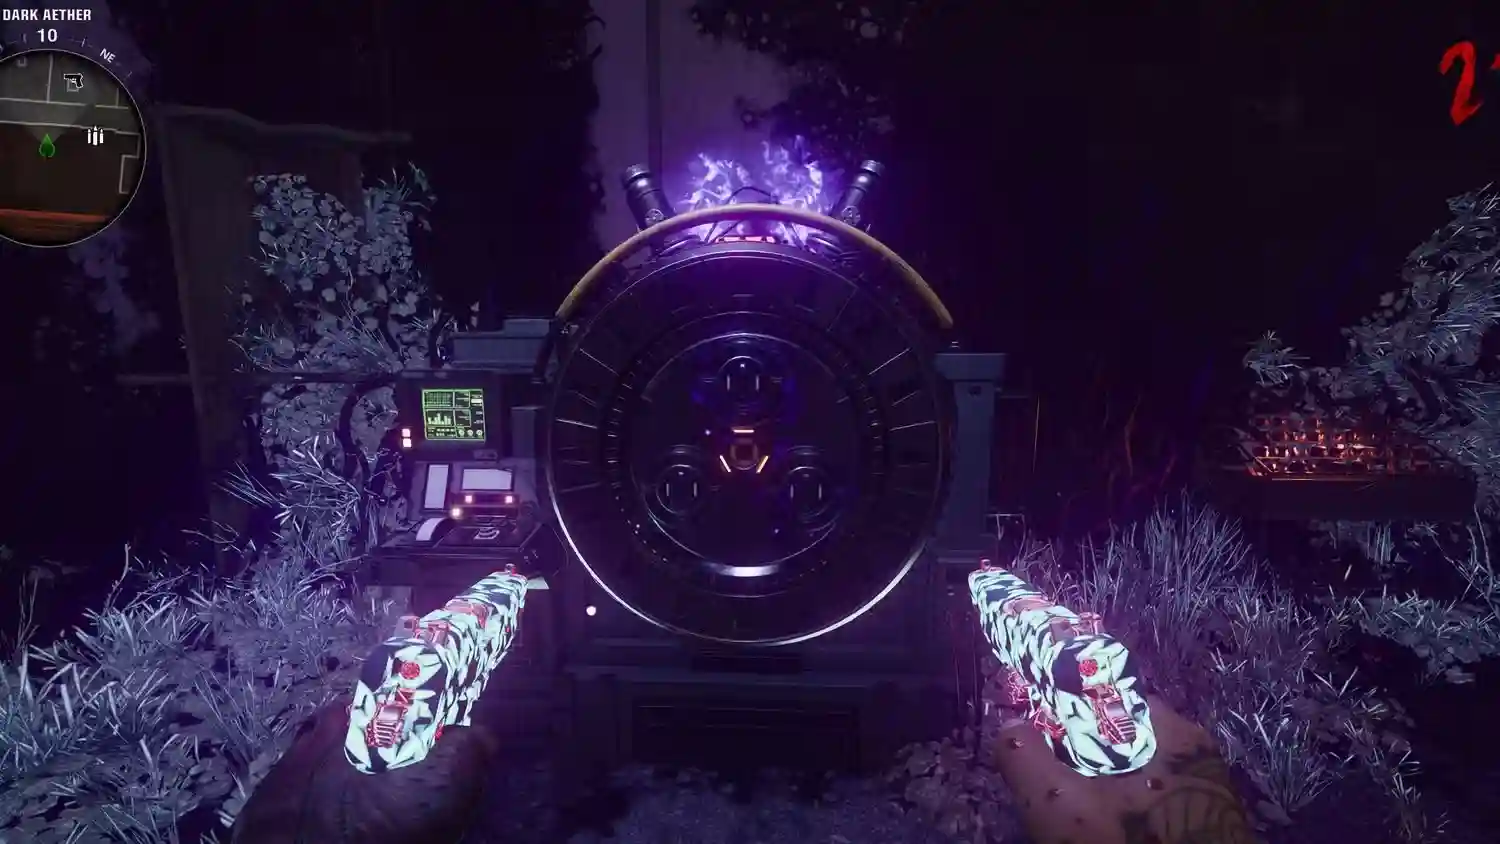
For players ready to dive into the Liberty Falls Easter egg, this guide provides every step along with helpful tips to tackle each challenge. Though it’s a shorter main quest, Liberty Falls packs enough twists and difficulties to keep you on your toes as you reveal the mysteries of Project Janus.
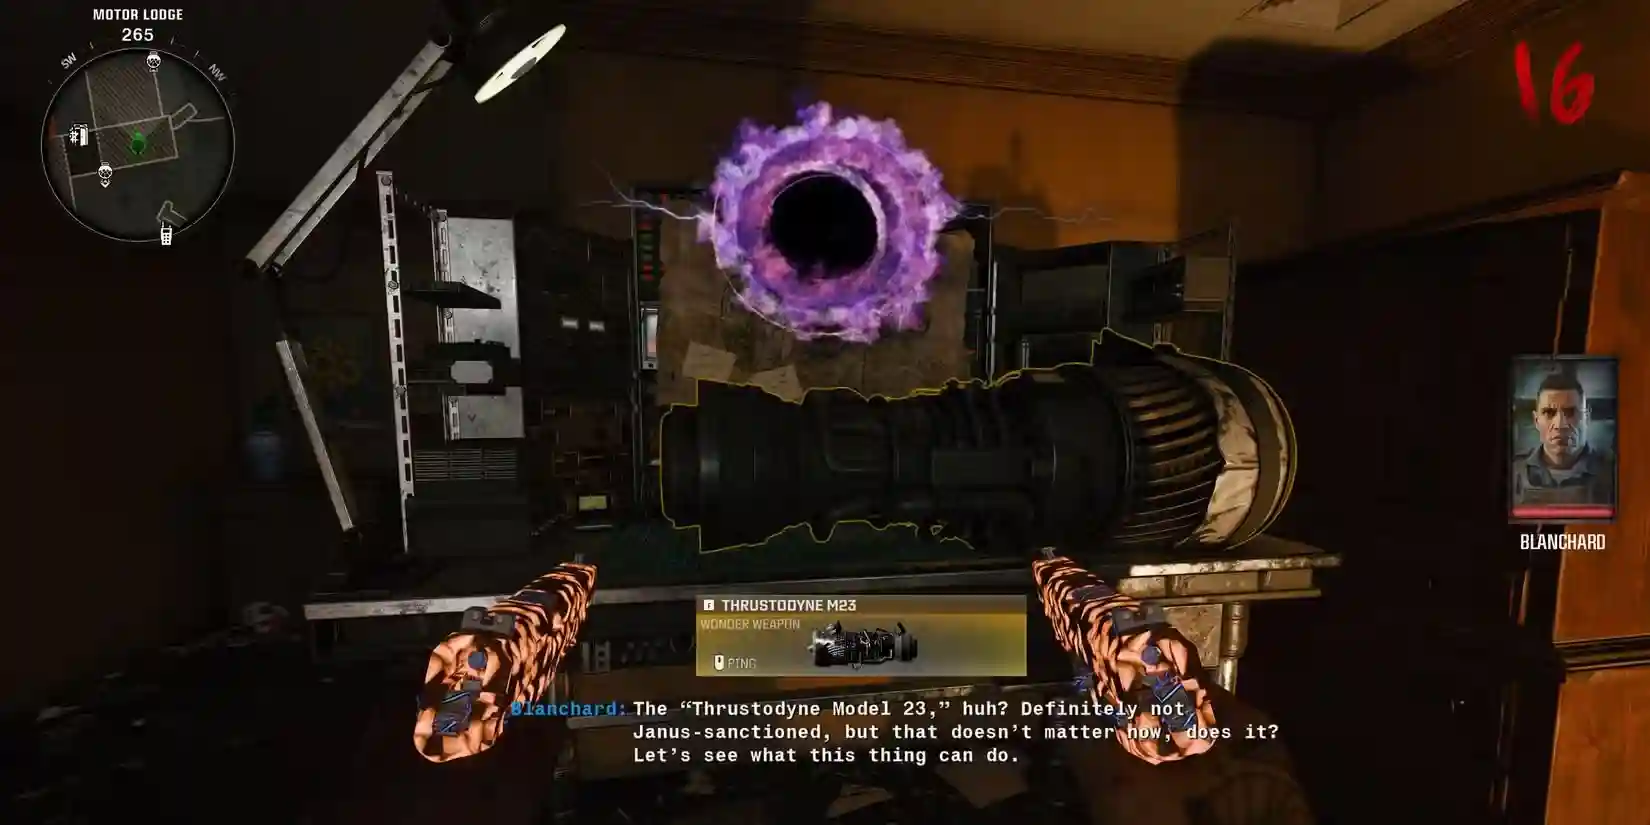
Building the Jet Gun
To kick off the Liberty Falls Easter egg, you’ll need the Jet Gun. While it can be randomly found in the Mystery Box or with the Wonderbar! GobbleGum, there’s a guaranteed way to secure the Jet Gun each game.
After spawning in Liberty Falls, go to the Motel and up the stairs to Room 202 in the Motor Lodge. You’ll recognize it by its proximity to the room marked with police tape. Zombies will burst from this area, but on Round 1, they’re great for easy points. Inside Room 202, you’ll find a workbench where you can craft the Jet Gun. Here’s how to gather the parts:
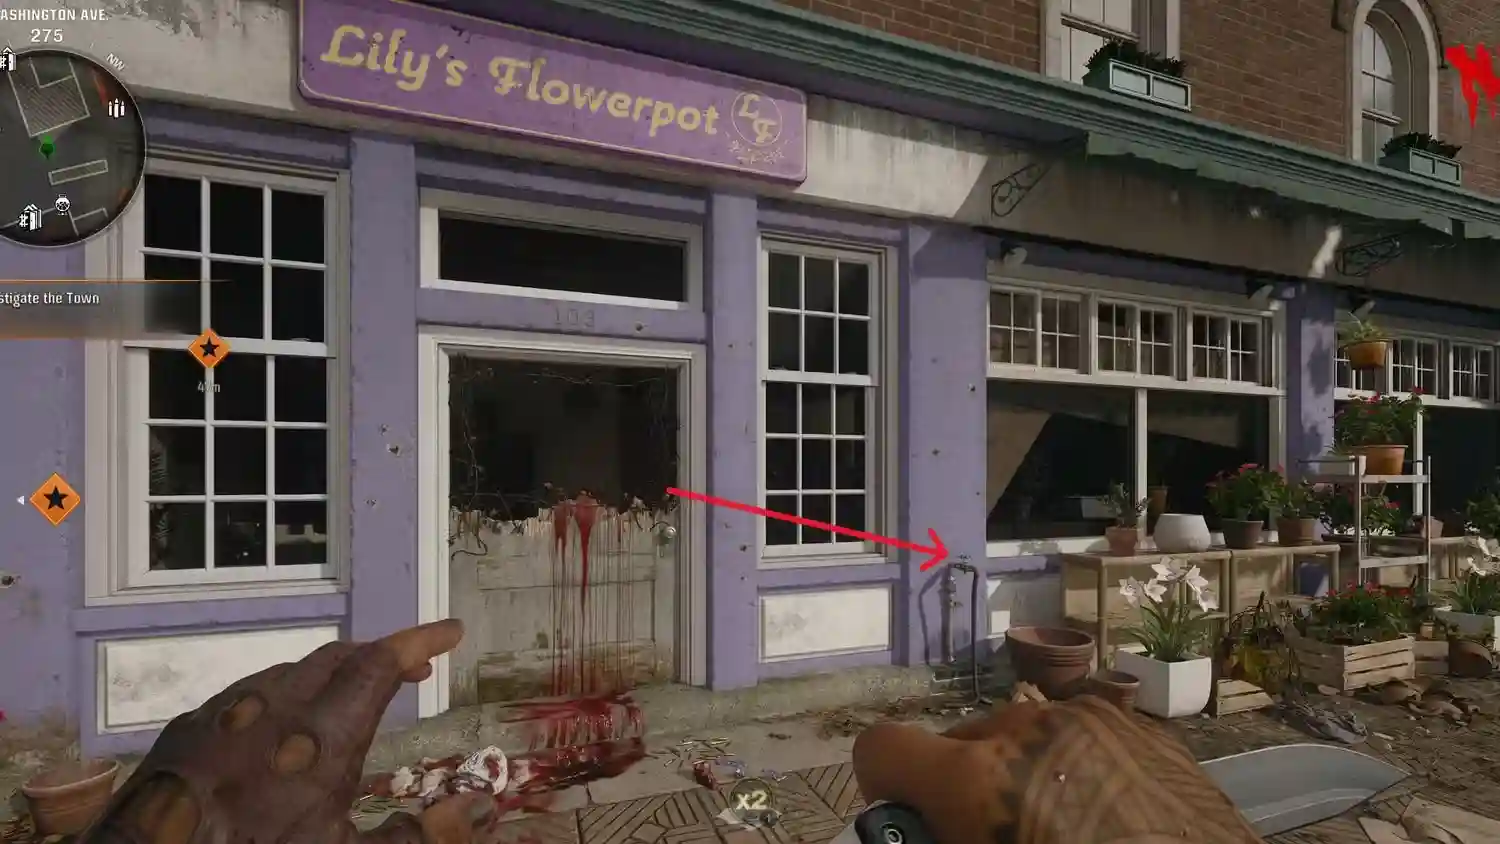
- Water Pressure Gauge: Head to Lily’s Flowerpot on Washington Avenue (near Speed Cola) to pick up a Water Valve by the main entrance. Take it to Fuller’s Liberty Lanes and smash open a control panel on the right wall, then interact to increase Water Pressure. As zombies spawn relentlessly, handle them quickly using Monkey Bombs or Decoys. Afterward, pick up the Water Pressure Gauge from the floor.
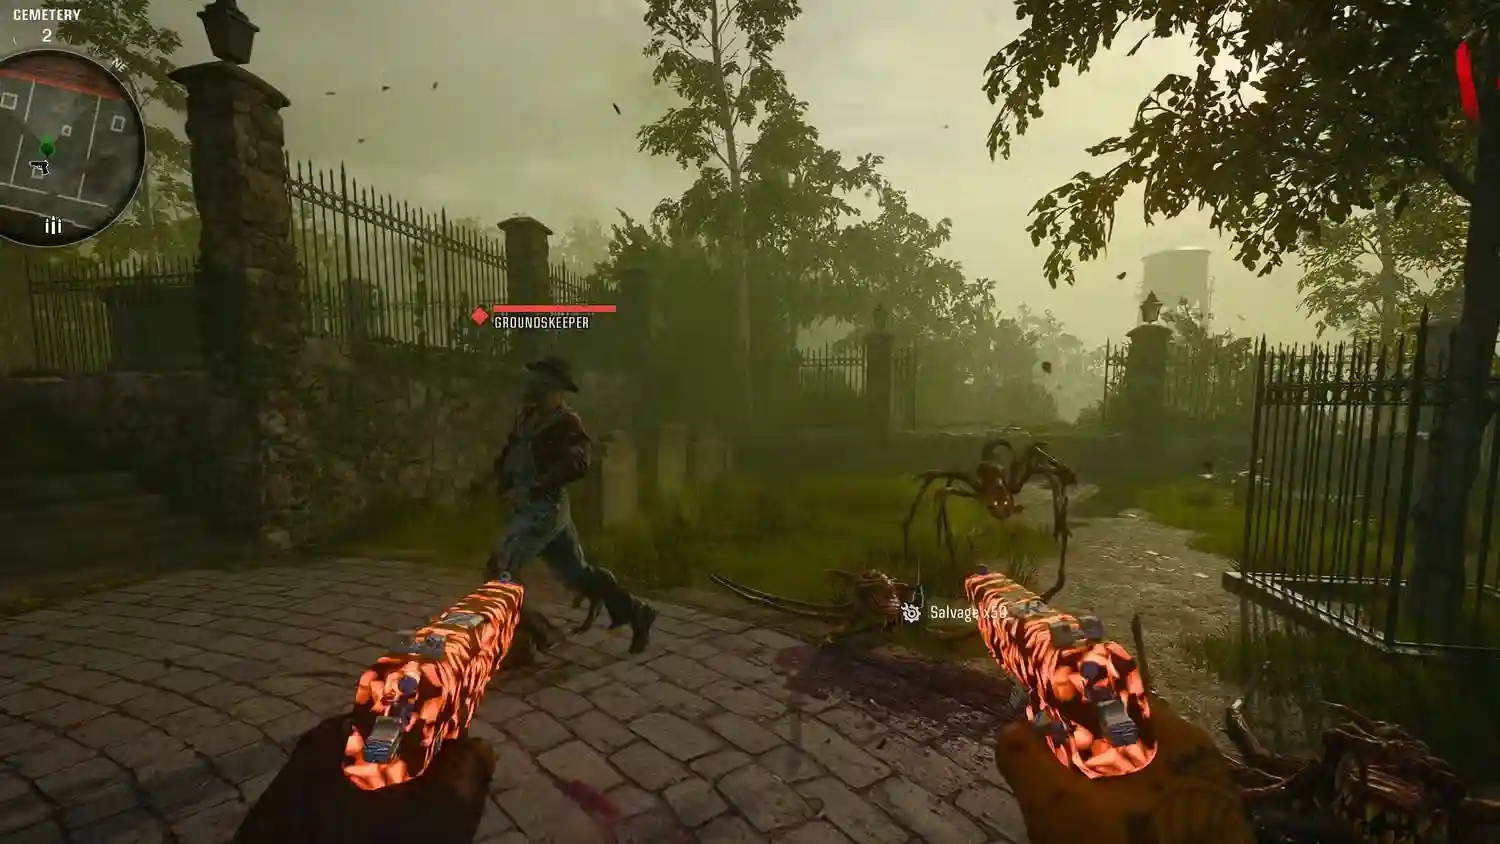
- Handbrake: Enter the Cemetery and wait for a unique zombie known as the Groundskeeper. Take him down quickly to obtain the Toolshed Key, then unlock the toolshed in his yard to find the Handbrake.
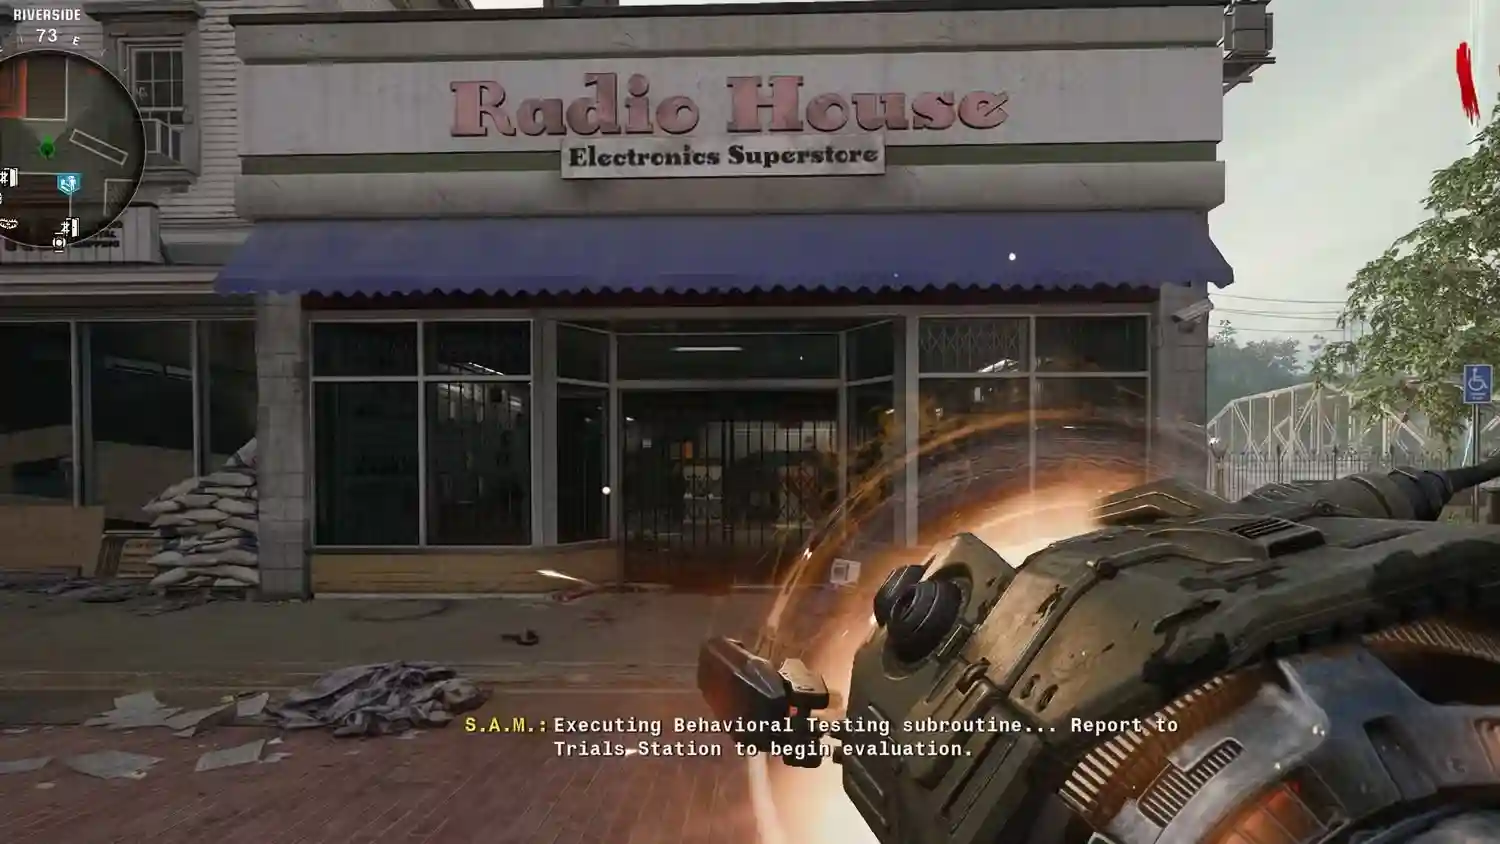
- Electrical Wires: To access the Radio House Electrics Superstore, you’ll need a Mangler Cannon or Mutant Injection to destroy the gate in Riverside. Use the Mangler’s arm cannon to enter and search the trash piles inside for the Electrical Wires.
Once you’ve gathered these parts, return to Motel Room 202 and assemble the Thrustodyne M23 Jet Gun to proceed with the quest.
With the Jet Gun ready, make your way to the Church where the Pack-a-Punch is located. Here, interact with the SDG Generator on the right side to trigger an in-game cutscene featuring Doctor Panos, who will assign you the task of finding and assembling the LTG Device.
How to Obtain LTG Parts
Using the suction feature on the Jet Gun (R2/RT/Left-Click), collect the three LTG Device parts:
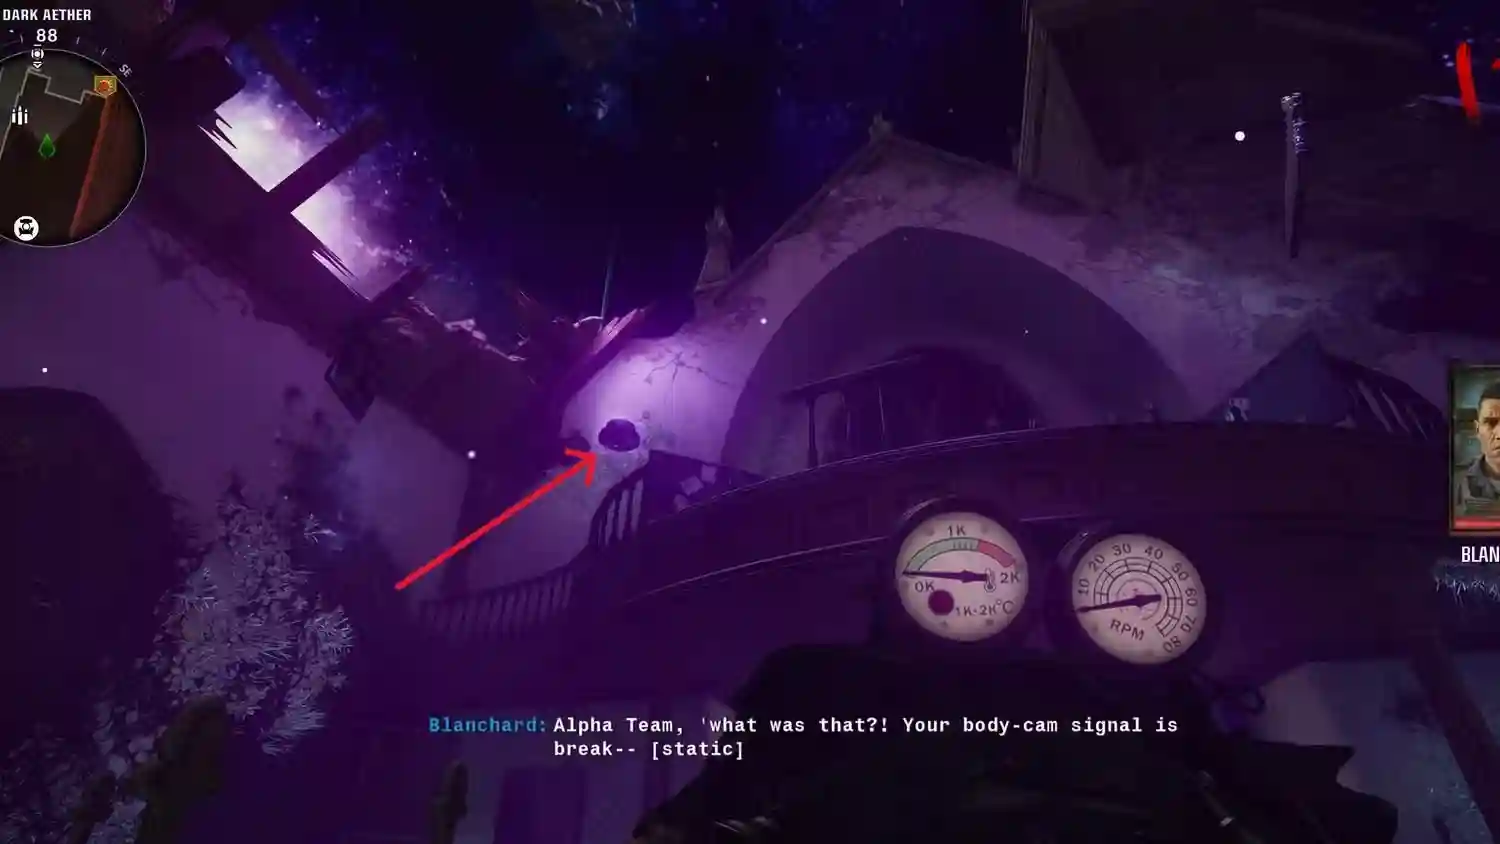
- LTG Part 1: Inside the Church, look up toward Doctor Panos’ balcony to spot this part floating.
- LTG Part 2: In Olly’s Comics, scan the ceiling where broken panels reveal the next part.
- LTG Part 3: On Washington Avenue, jump across rooftops to the white van and peek into the barbershop window.
Once you’ve gathered all parts, go to the Liberty Falls Bank rooftop, specifically “The Alamo,” to assemble the LTG Device and proceed.
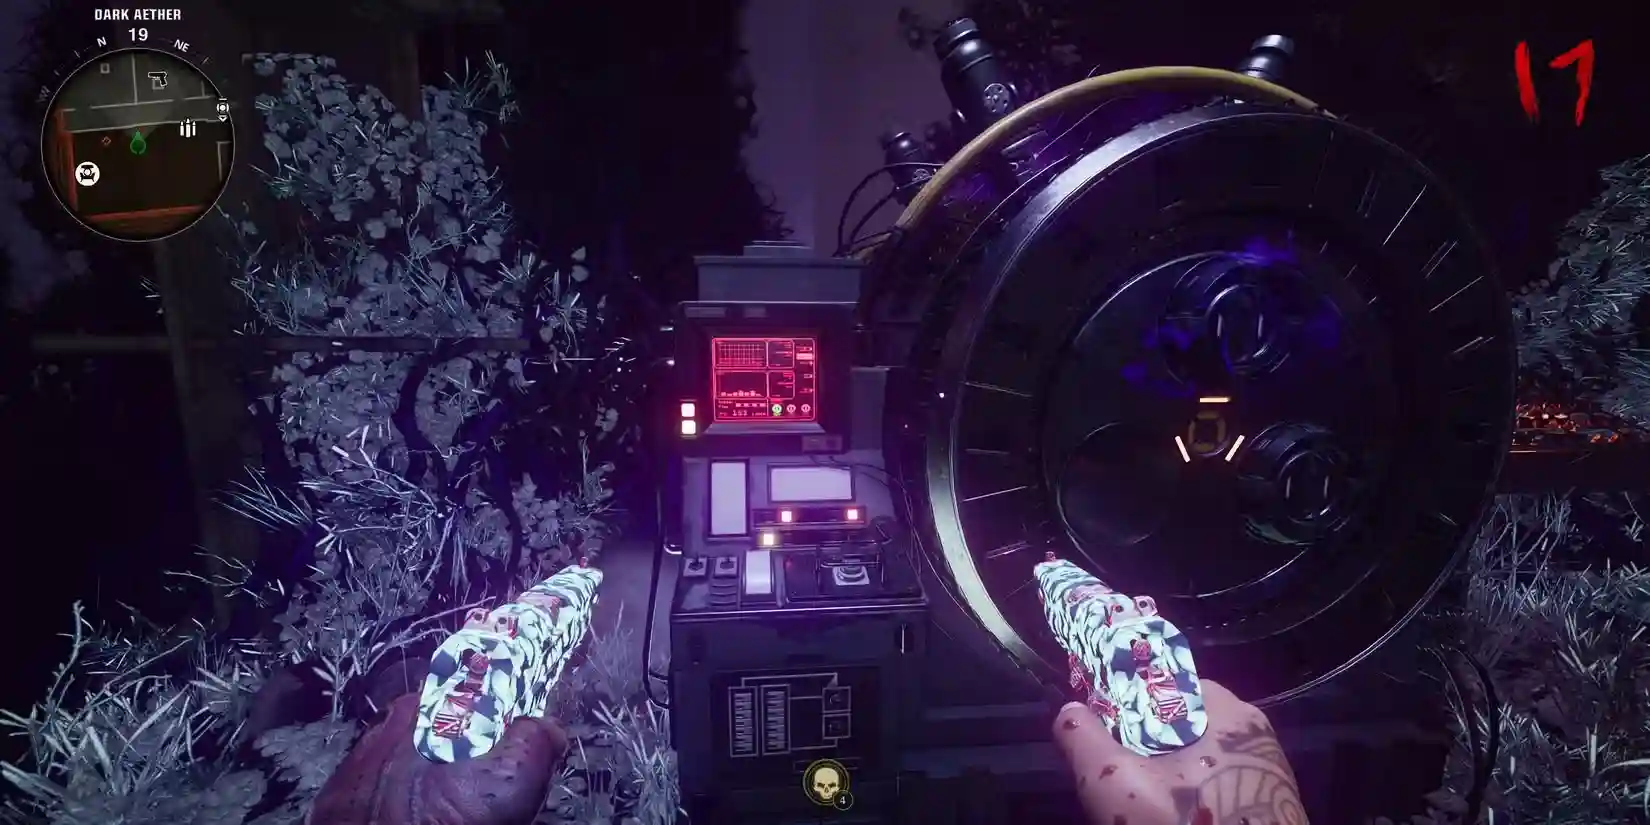
Return to the Church, interact with the SDG Generator to retrieve a metallic Aether Canister, and carefully bring it to the Motor Lodge. Place it by one of the floor mines near the Dark Aether Field Generator trap.
Next, head to Riverside to engage the Dark Aether cloud, which will open a portal. Defend this portal from incoming zombies for 60 seconds. Afterward, a Lythnor (a red Abomination) will appear. Lead the Lythnor to your Aether Canister at the Motor Lodge and activate the trap, transferring its essence into the canister.
Once filled, take the Aether Canister back to the Church within the 90-second timer and place it in the SDG Generator.
With the SDG Generator now accessible, pick up the Strauss Counter, replacing your Tactical Equipment. Visit three energy projectors and adjust their colors based on the Strauss Counter’s reading:
- Green: Set projector to Red
- Yellow: Set projector to Yellow
- Red: Set projector to Green
Find projectors near the Hilltop Stairs (by PhD Flopper), the Groundskeeper’s Yard, and Yummy Freeze Rooftop. After aligning the colors, return to the spawn location (Pump & Pay) to retrieve the second Aether Canister.
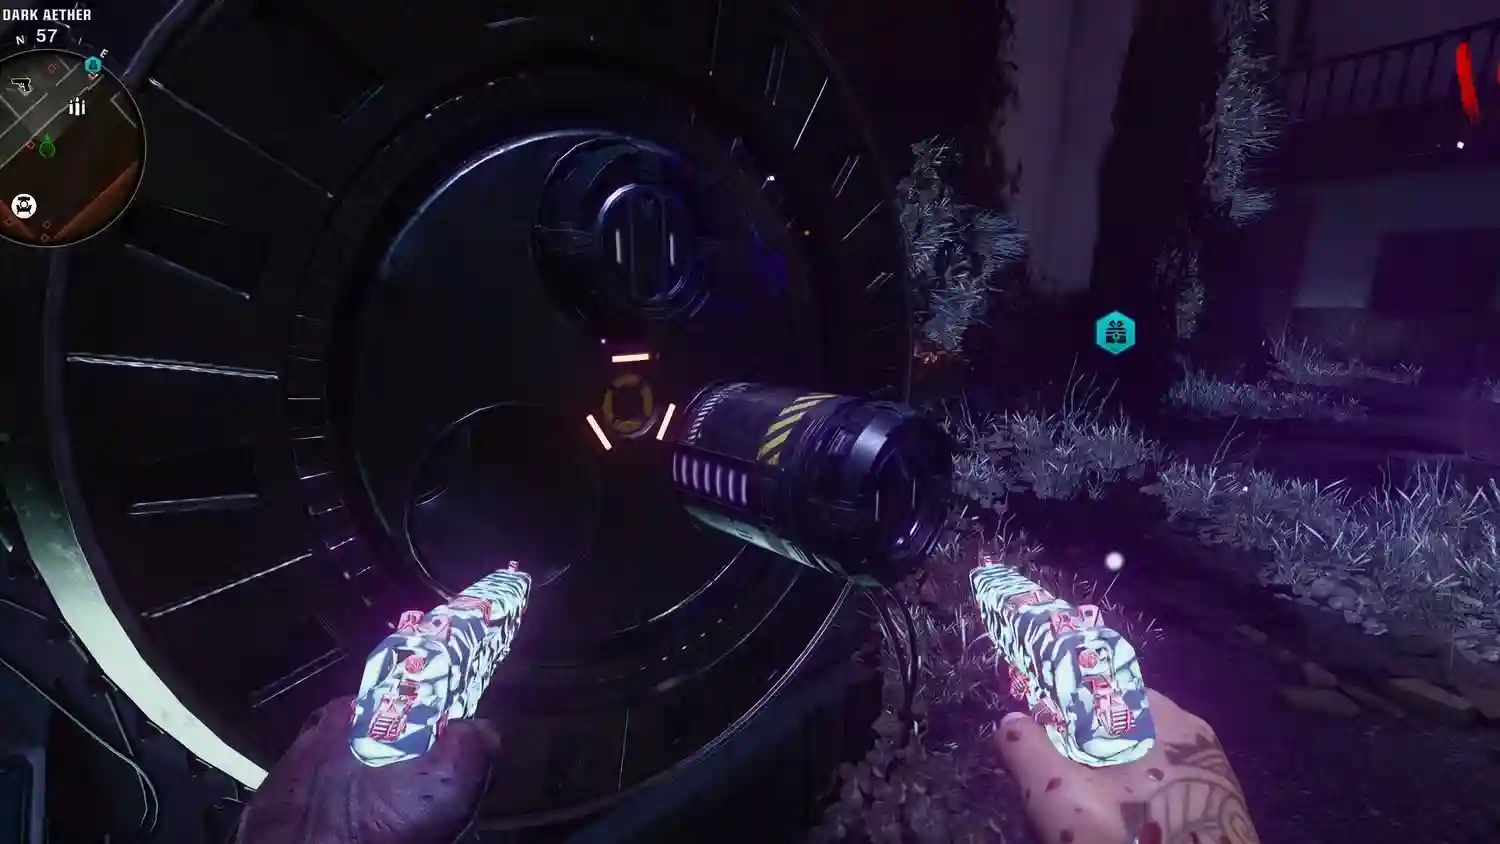
Take the LTG device back to Hill Street, place the Aether Canister next to a floor mine, and proceed to the Cemetery to open a Dark Aether portal. Once again, defend it from zombies for 60 seconds. Afterward, a Mangler will spawn. Lead the Mangler to the canister and activate the Dark Aether Field Generator trap to capture its essence.
Return the filled canister to the Church within 90 seconds and slot it into the SDG Generator.
With all prior tasks complete, gather everything you’ll need for the final battle. There’s no boss fight, but you’ll face three challenging zombie waves, so equip Tier 3 armor, upgrade your weapon to Legendary, and bring Tier 3 Pack-a-Punch along with Mutant Injector Scorestreak for extra support.
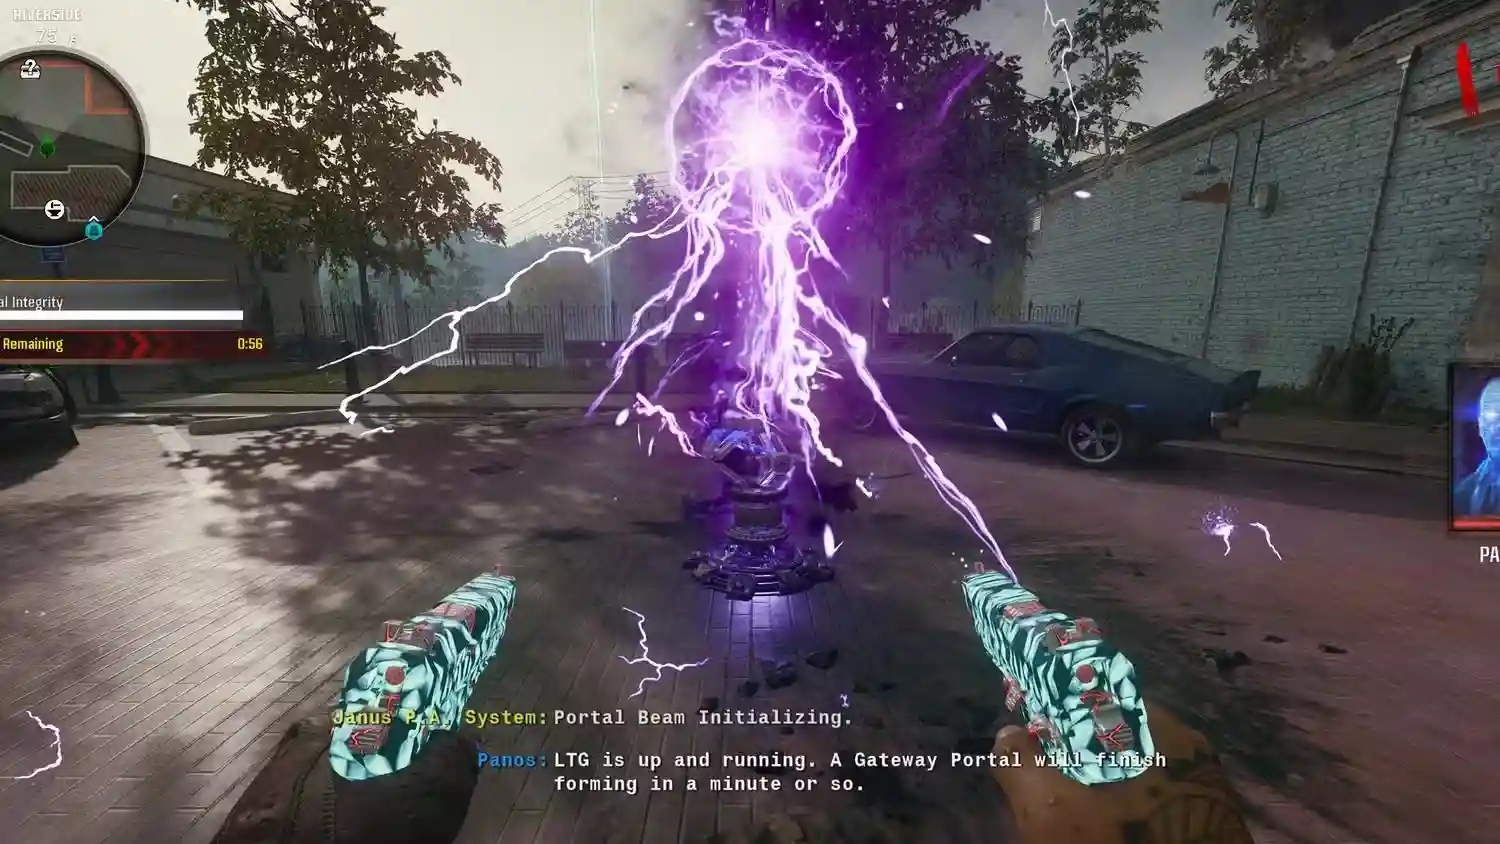
Activate the SDG Generator with all players present, sealing off exits and initiating the final encounter. Survive three escalating waves, each with tougher zombies, Manglers, and a powerful Abomination. Use your Pack-a-Punched weapons, Jet Gun, and all Perks to battle through the waves. Completing the final encounter triggers a cutscene, marking the end of the Liberty Falls Main Quest.
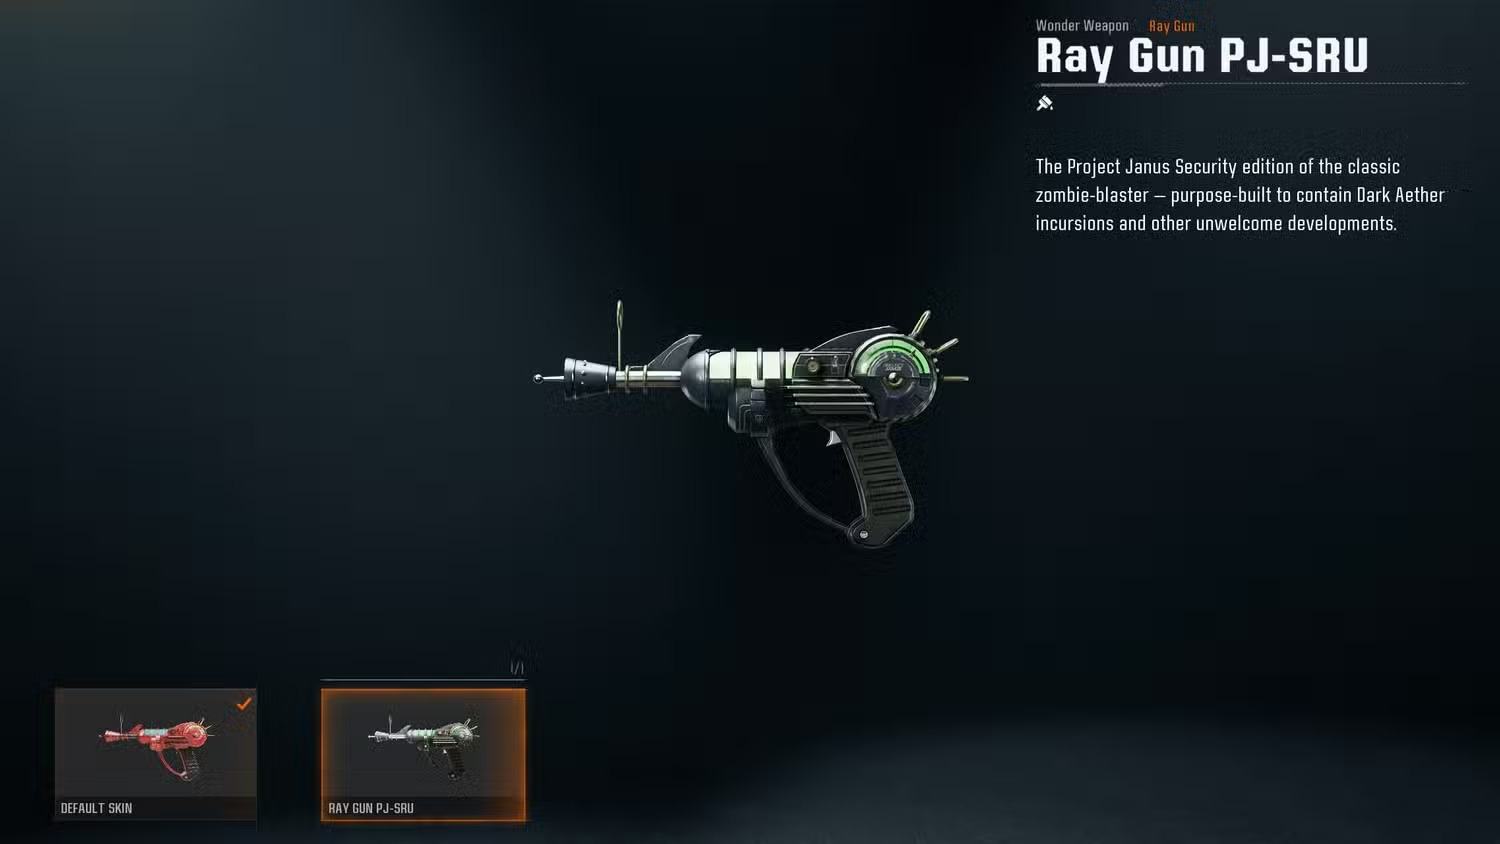
Completing the Liberty Falls Easter Egg
Upon returning to the lobby, successful players earn two rewards:
- Ray Gun PJ-SRU: An exclusive Ray Gun skin.
- Liberty Falls Quest Complete Calling Card: A special card featuring a golden zombie skull, available for those who complete it shortly after release.
With this Liberty Falls guide in hand, you’re all set to tackle the undead, conquer every step, and secure your place in the COD Zombies legend!

Call of Duty: Black Ops 6 - The Ultimate GPR 91 Loadout
Call of Duty Black Ops 6 Zombies: Guide to the Mangler Cannon

Call of Duty Black Ops 6: Optimal Loadout for the AEK-973
Black Ops 6 Zombies: How to Score a Free Perk in Terminus

Call of Duty - Black Ops 6: Tips for Rapid Leveling Up!
Black Ops 6 Zombies: Score a Free Ray Gun in Liberty Falls!

Black Ops 6 Zombies: Mr. Peaks’ Bowling Minigame in Liberty Falls

Black Ops 6 Zombies: Unlock the Whack-A-Crab Free Perk
Black Ops 6 Zombies: Unlock a Free Wonder Weapon on Terminus
Black Ops 6 Zombies: A Guide to Researching Augments

Pregnant Mom Baby Care Games
| Strategy

Super Fleets - Classic
| Strategy

Vegas Bowling Lite
| Sports

Zombie Apocalypse-Dead City
| Action
Hypnos love lullaby FNF mod
| Music

(メモリン)メモリーズ・オブ・リンク-超美麗・着せ替え×リズ
| Music

Toddler Educational Puzzles
| Puzzle

Brain Game - Smart Quiz
| Puzzle
Genshin Impact Reveals Version 5.0 Spiral Abyss Enemy Lineup Leaks
Genshin Impact Leak Hints at Quality-of-Life Improvement for Local Specialties
Leaked Expansion Details for the Upcoming Mortal Kombat 1 Revealed
Assassin's Creed Shadows Includes Same-Sex Romance Choices
Dragon Age: The Veilguard Developer Explains Lack of Multiplayer Feature
Breaking a Decade-Long Tradition: Hearthstone's New Expansion
Splatoon 3 Reveals Details for Upcoming August Splatfest
Helldivers 2 Leak Unveils Upcoming Premium Warbond
Castle Master TD: A Tower Defense Game of Strength, Strategy, and Survival Set to Launch Globally